Appearance
💡 Getting started
Get up and running in a matter of minutes
Connect to your database
To get started with Supersimple, you'll just need to connect your data warehouse (or database). Supersimple only ever needs a read-only connection to your database, and it's best to create a separate database user for it.
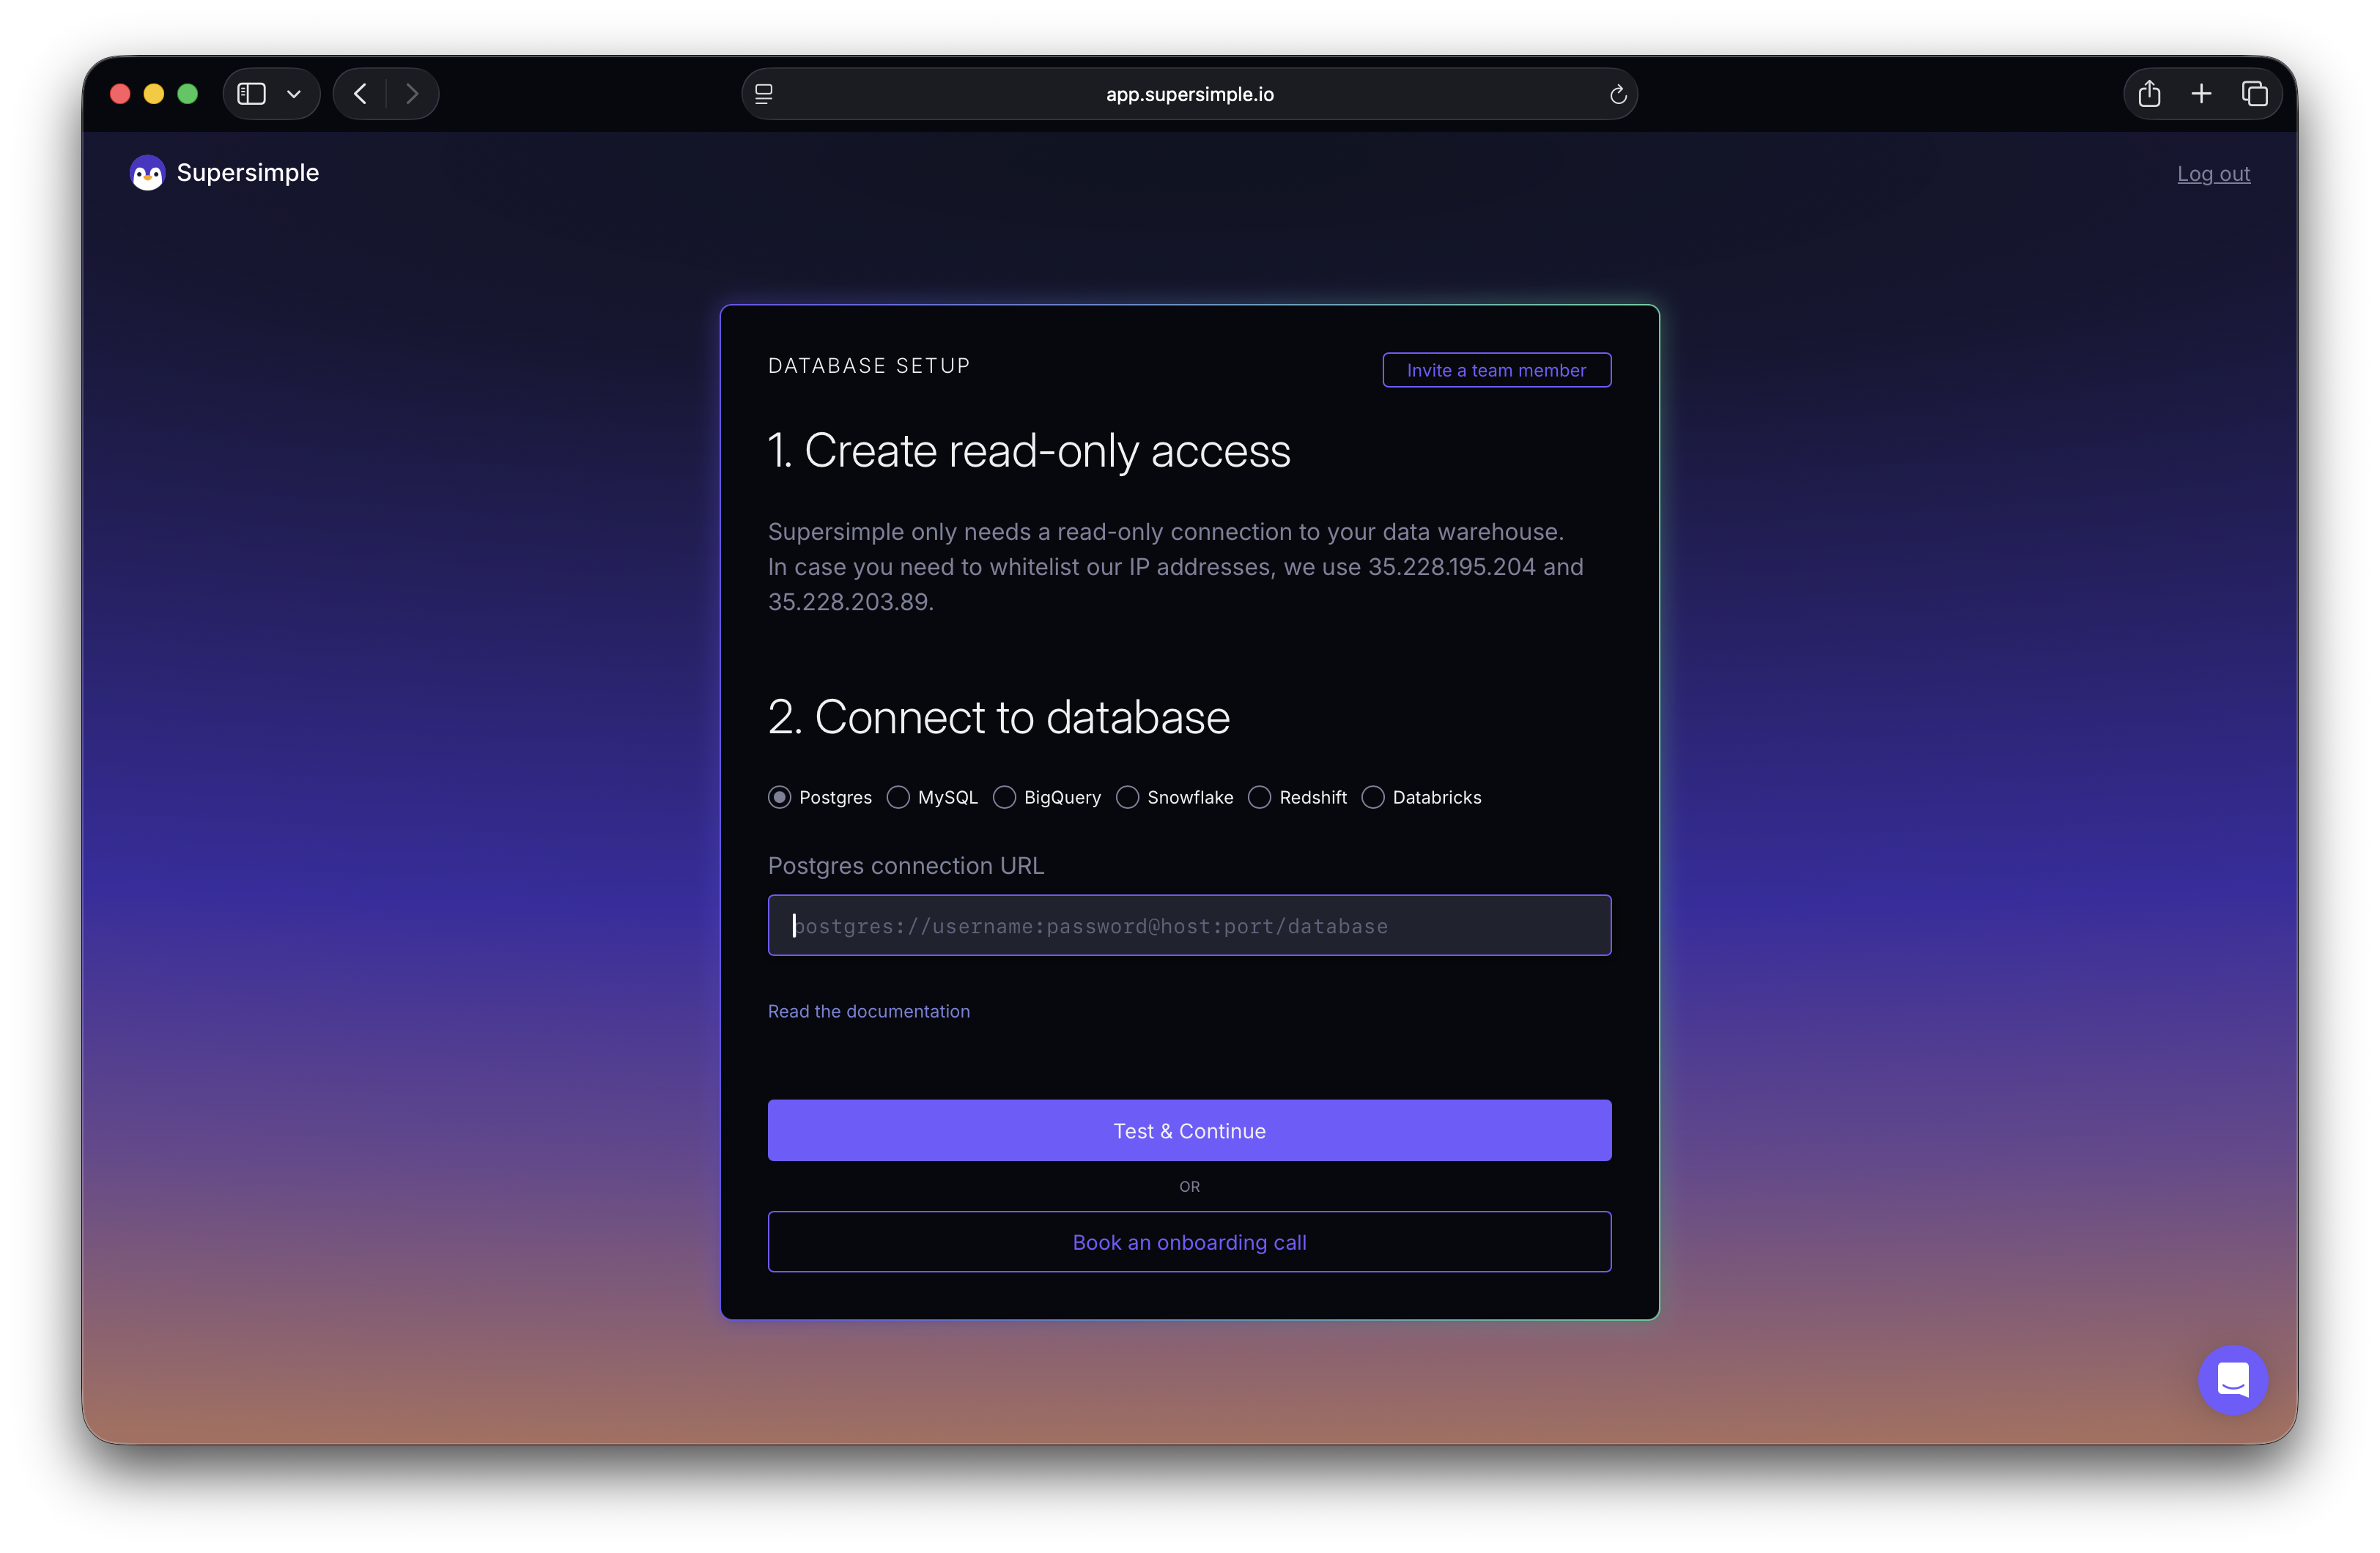
Once you log on to the platform, you'll be asked to configure the database connection.
TIP
In case you need to whitelist Supersimple's IP addresses, we use 35.228.195.204 and 35.228.203.89 (or 35.228.195.204/32 and 35.228.203.89/32 as CIDR, respectively) for any outbound traffic to your databases.
To get set up with BigQuery, you'll just need to provide us with a service account JSON file that provides read-only access with the BigQuery Job User and BigQuery Metadata Viewer roles to your project, and BigQuery Data Viewer to just the relevant datasets.
We recommend creating a new and separate service account for Supersimple, instead of reusing an existing service account you may have.
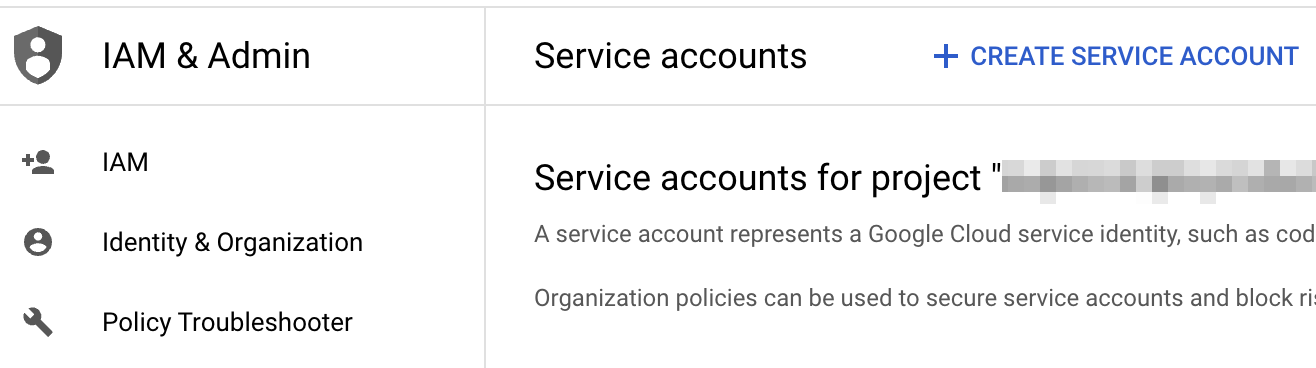
- Create a new service account in your Google Cloud console, under IAM & Admin. Name it anything, but you could just go with Supersimple.
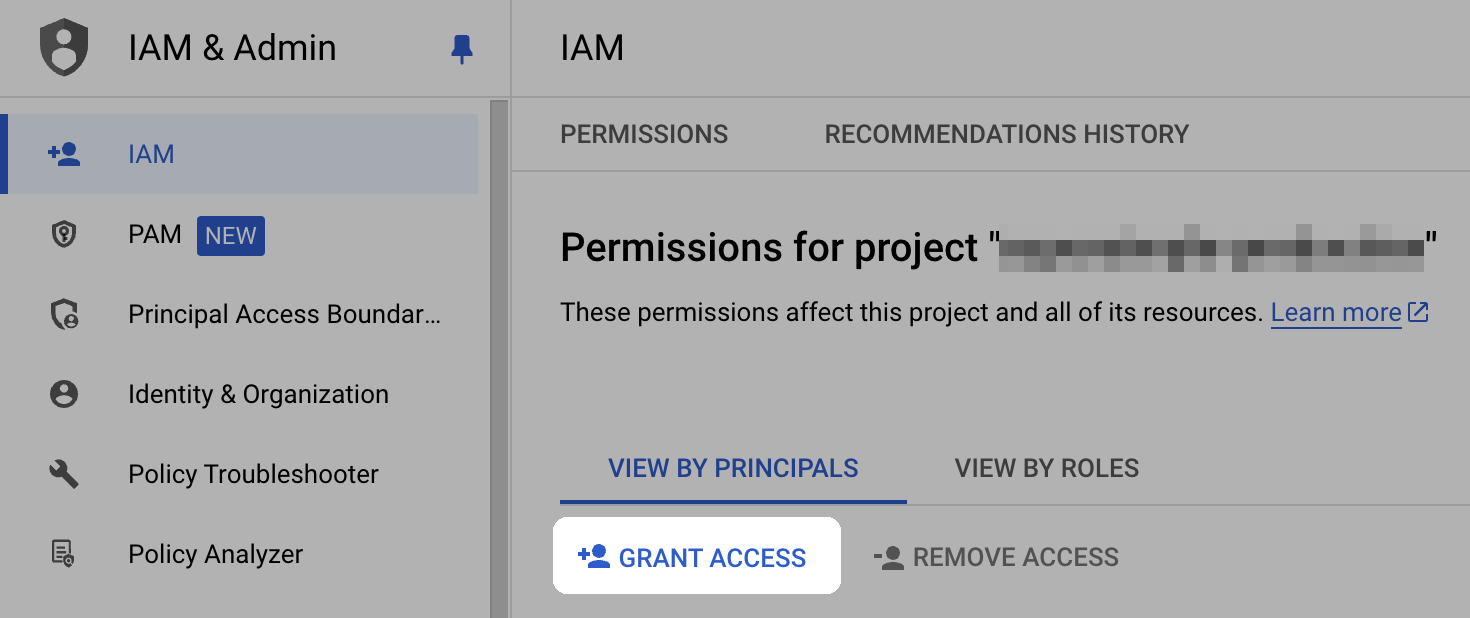
- Grant the service account access to your project from within IAM, with both the BigQuery Job User and BigQuery Metadata Viewer roles. Use the service account you just created as the principal.
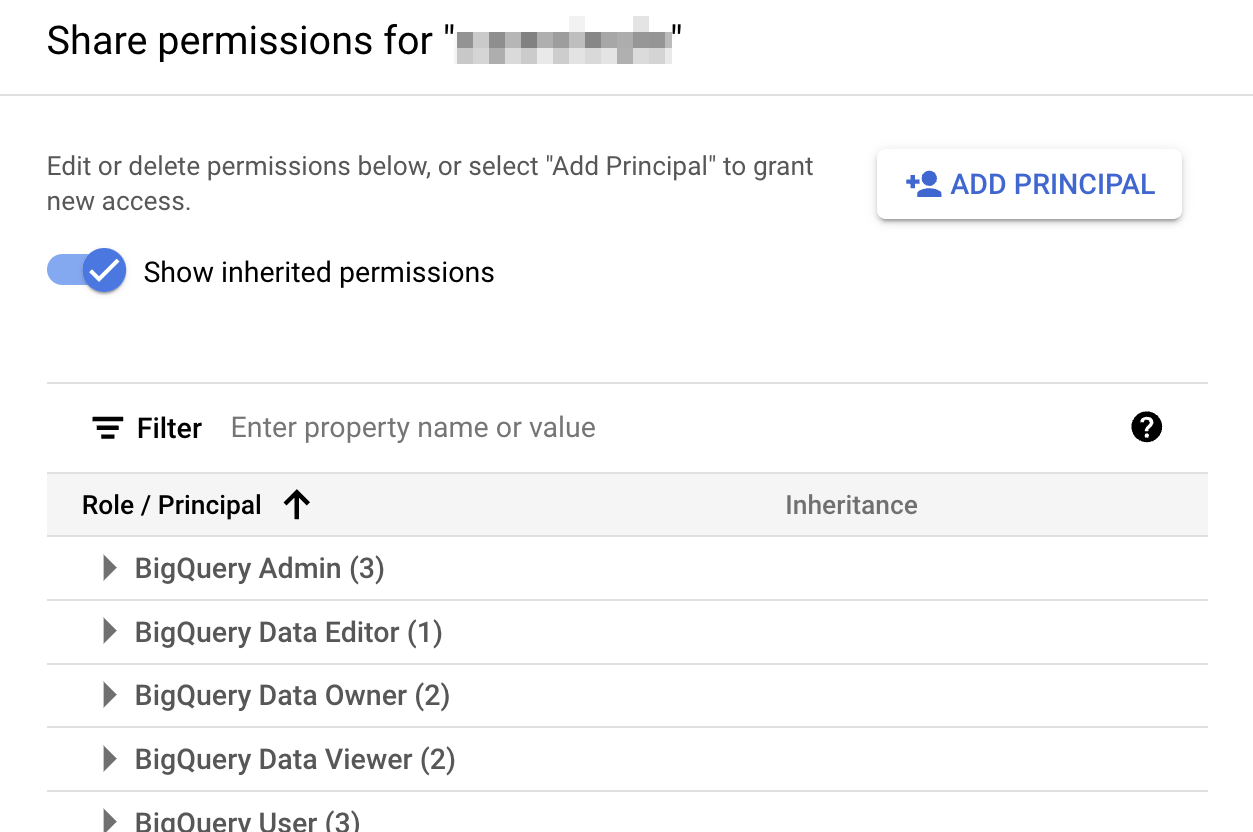
- Open the BigQuery datasets you'd like to use on Supersimple and grant the service account the BigQuery Data Viewer role. Select the relevant dataset, then Share, then Manage Permissions, then Add Principal.

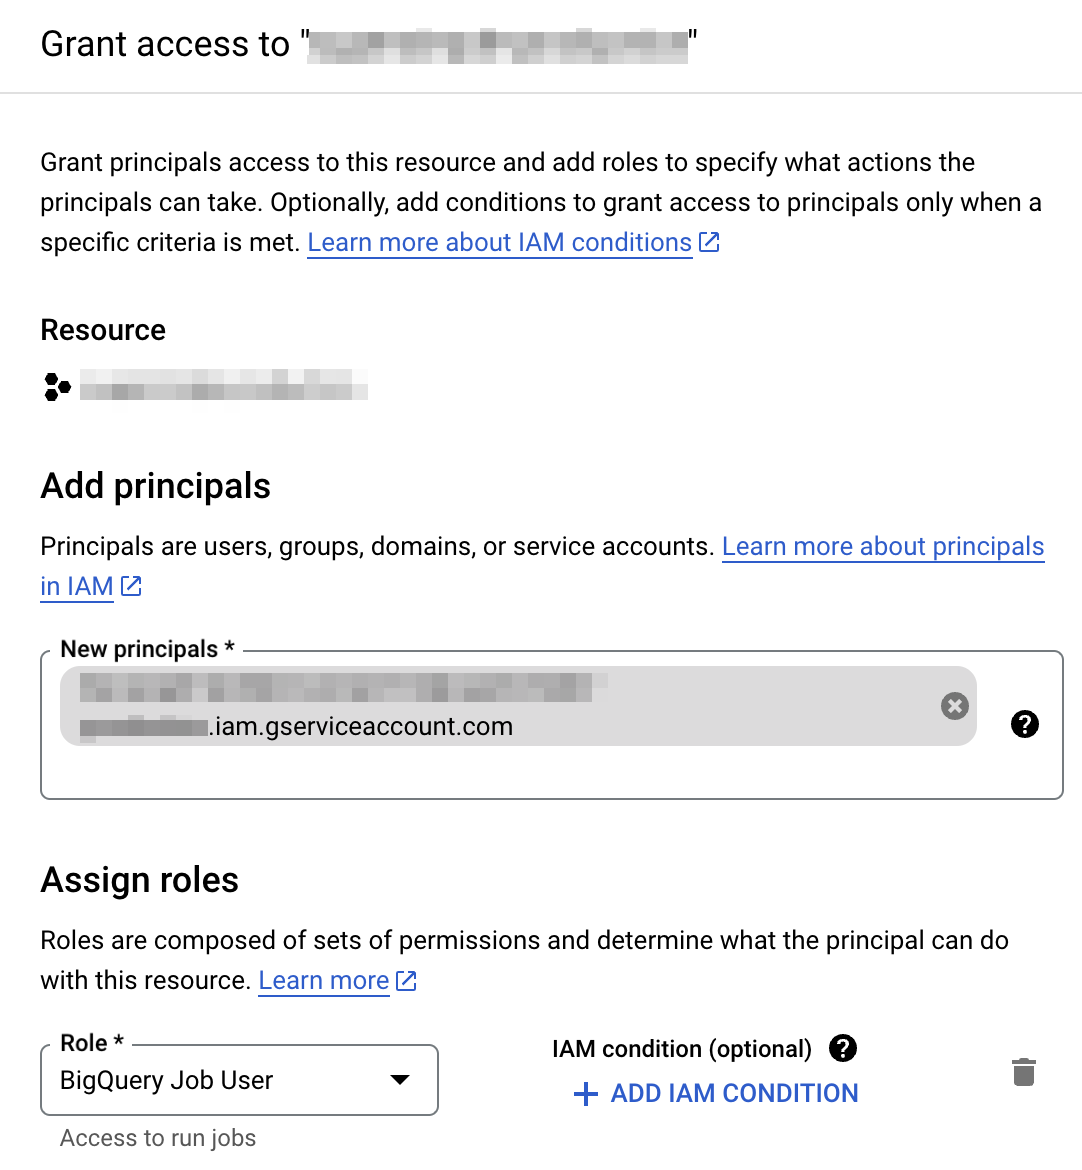
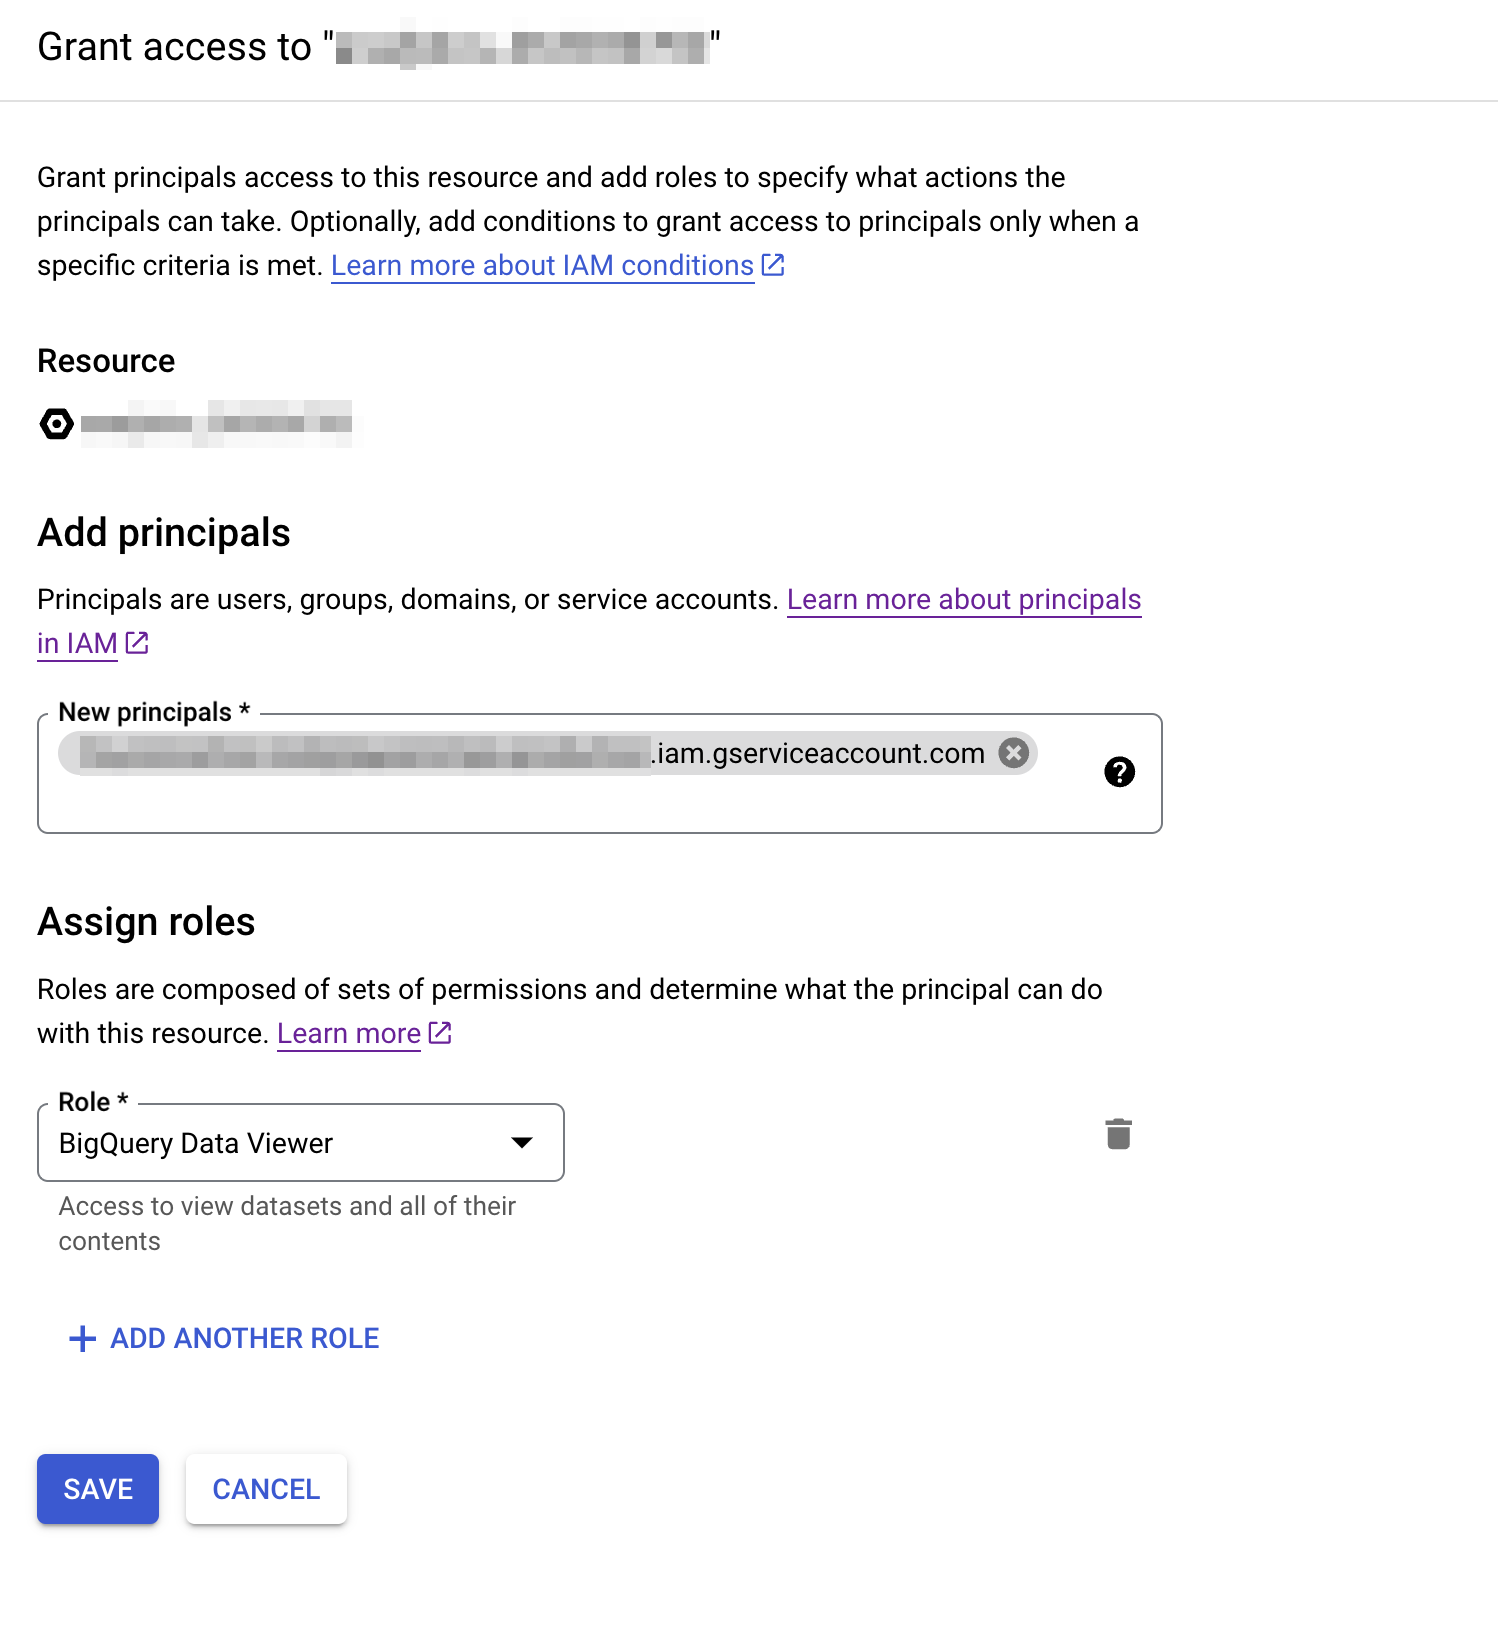
Click Add Principal in the sharing options that open:
Use the exact service account email you created previously, and choose BigQuery Data Viewer as the role.
In case you have multiple dataset you would like to connect, make sure to repeat these steps as appropriate for each BigQuery dataset
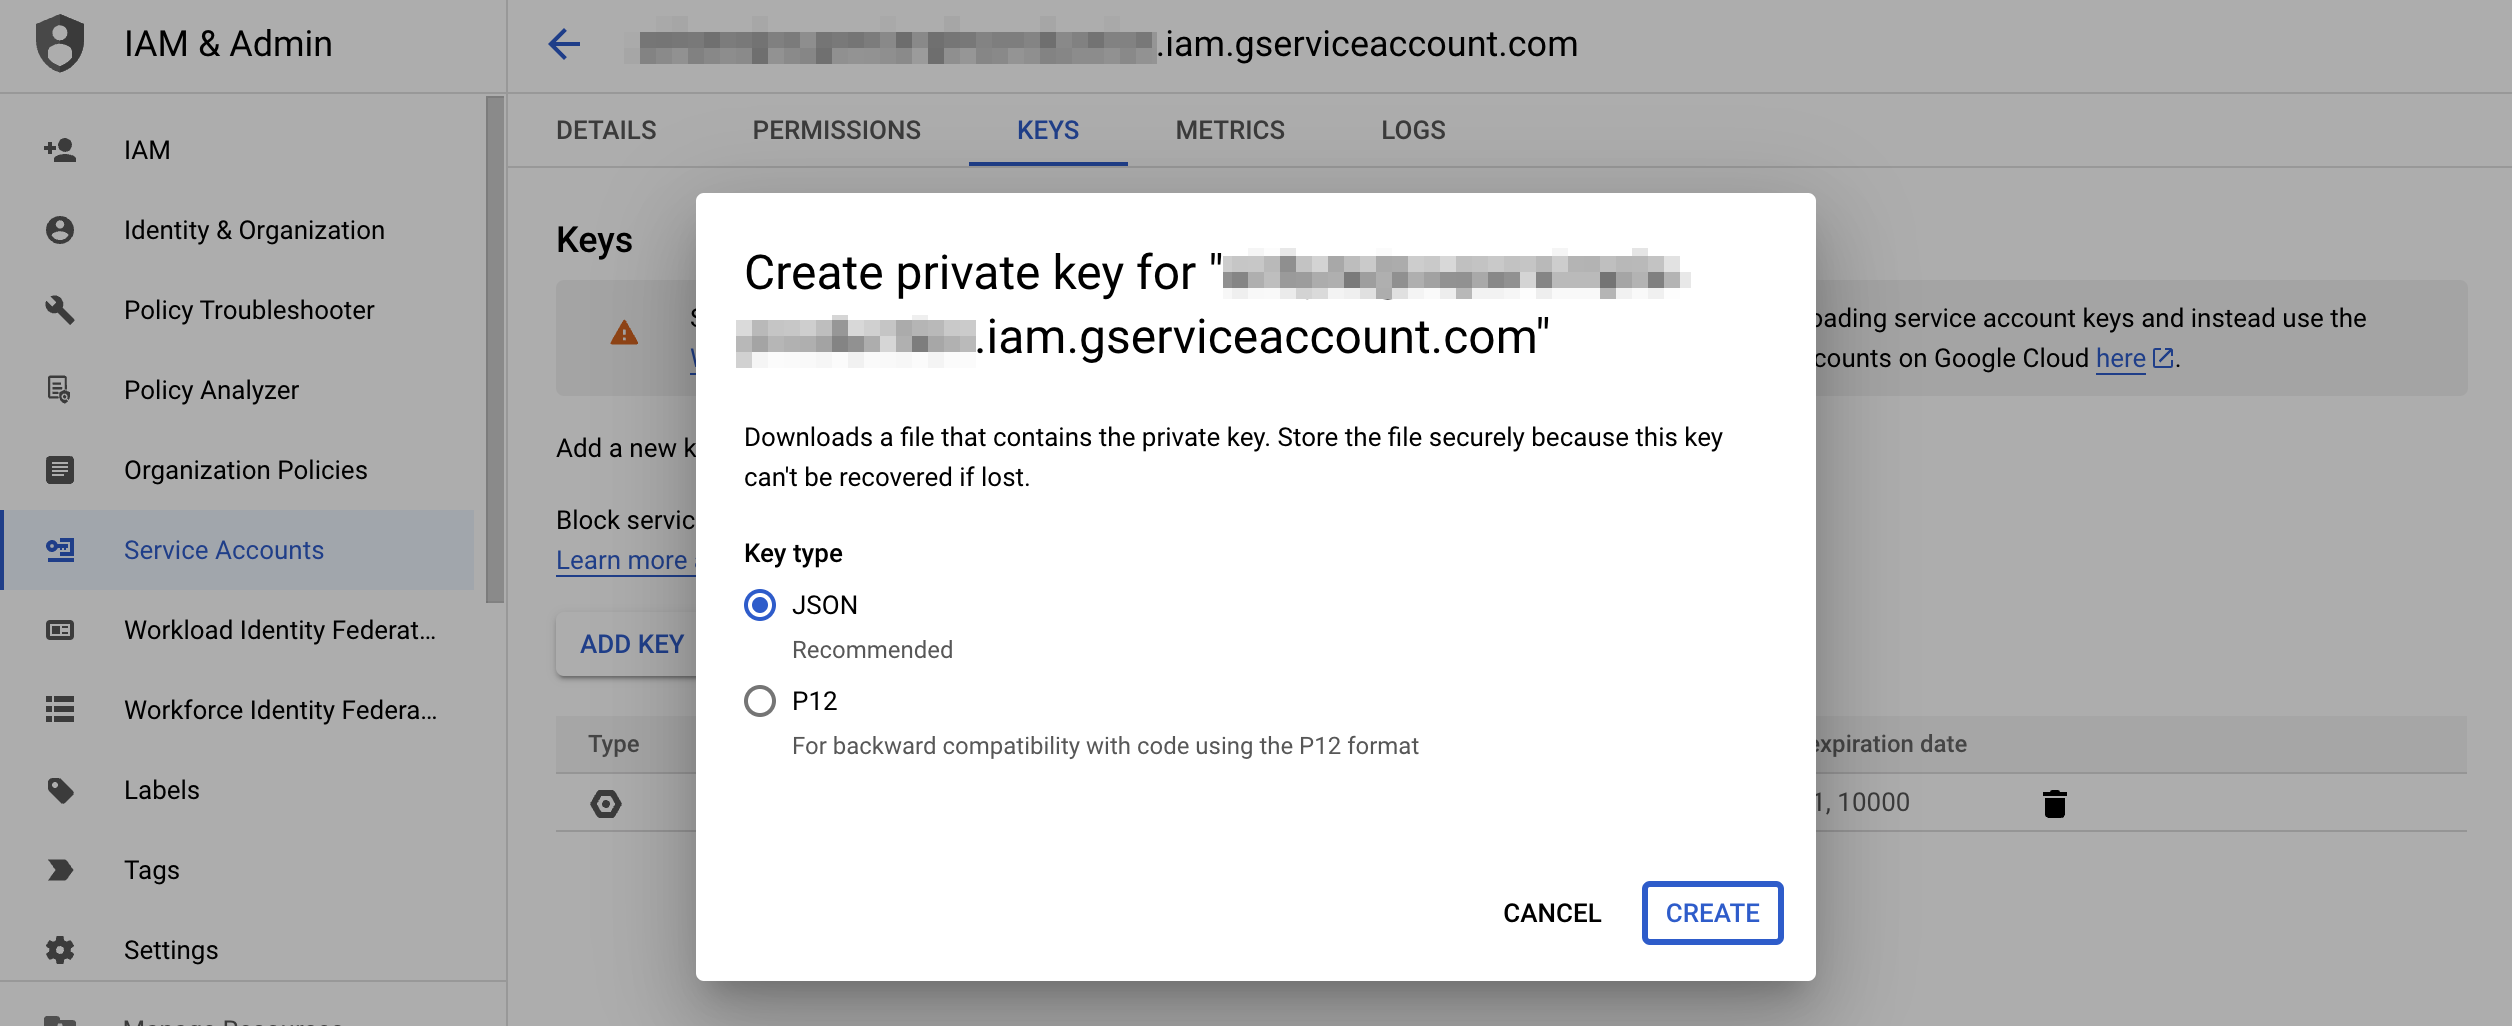
- Once you've created the service account and granted it these permissions, you can download its credentials as a JSON file from IAM & Admin > Service Accounts > Keys and copy its contents into our onboarding flow.
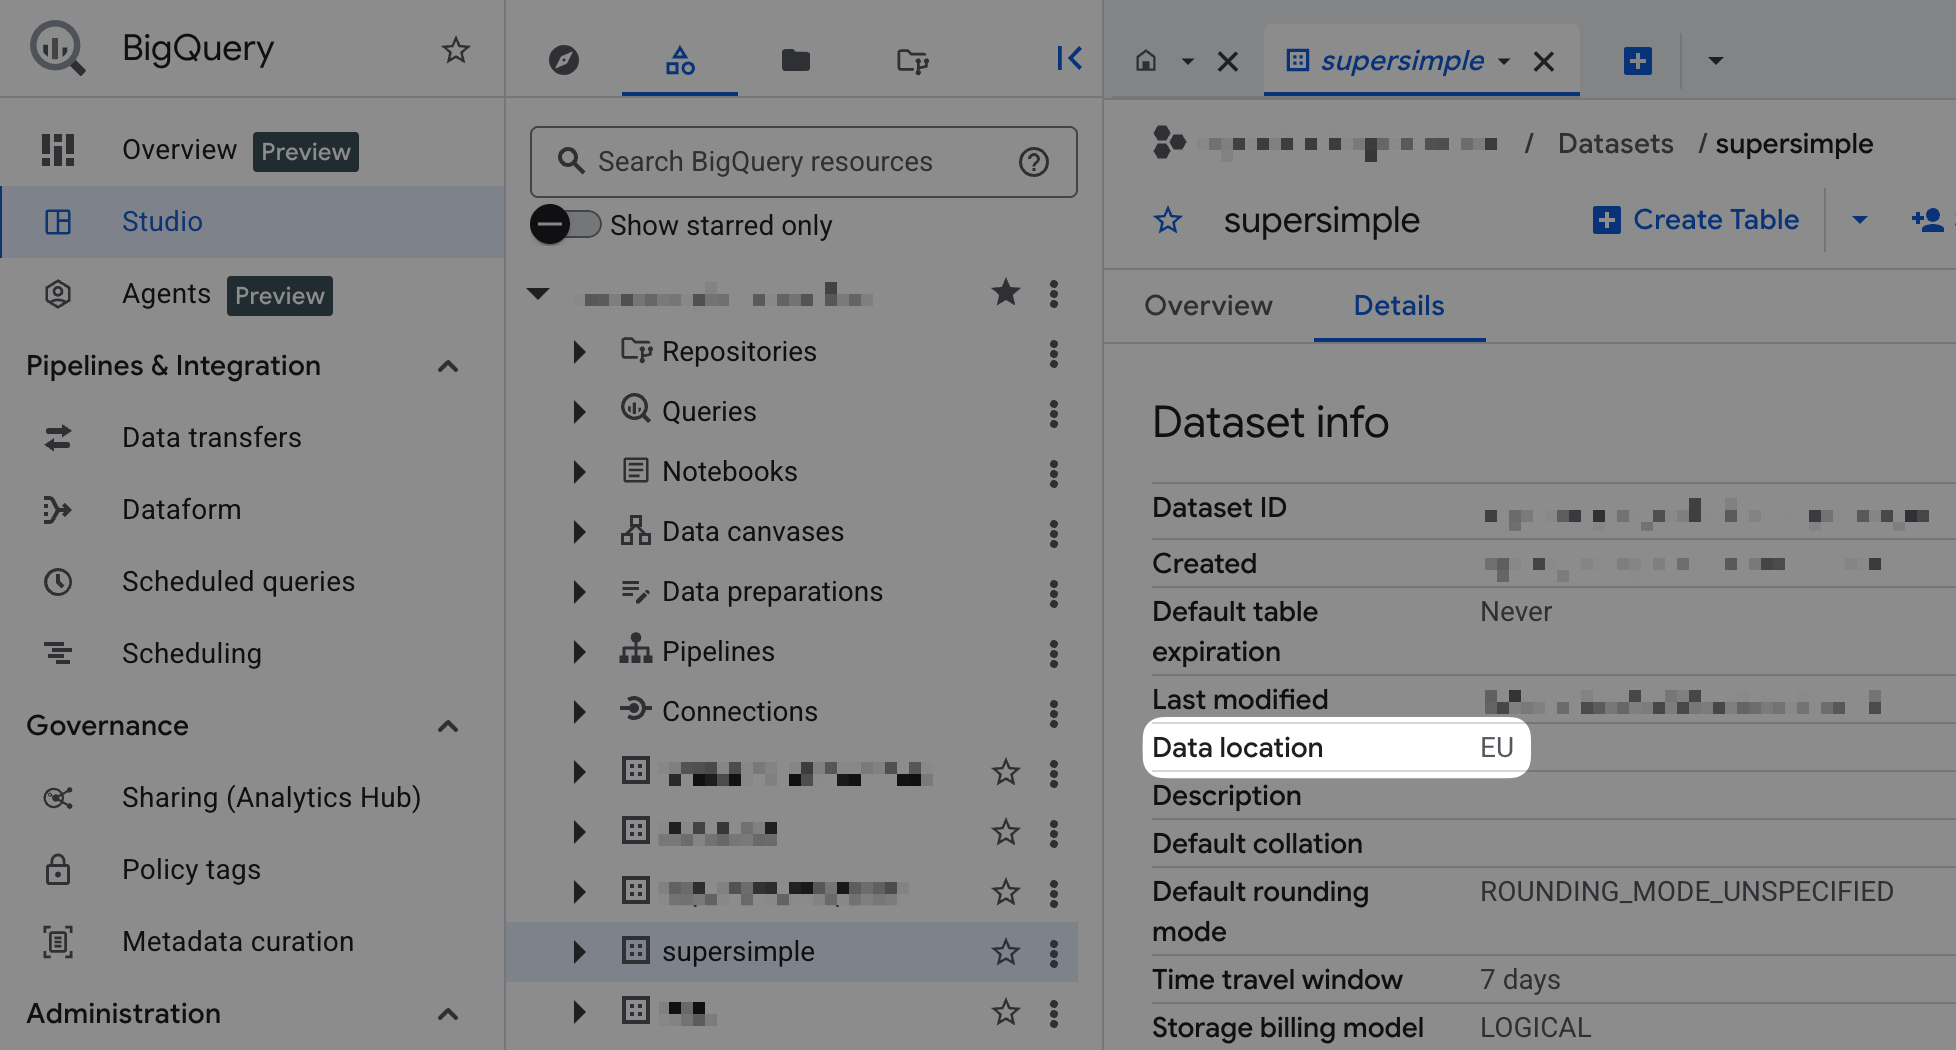
- You'll also need to enter the dataset location (region or zone) in Supersimple. You can find this in BigQuery by selecting your dataset and looking at Dataset info.
If you run into any trouble or have a question, just click the support bubble in the bottom right of the app and we'll help get you set up!
Data model setup
Once your data source is connected, you'll just need to create some data models to start exploring your data.
TIP
For a detailed guide about everything you need to know about data models, check out Managing the data model.
For now, let's create a ✨ super simple ✨ data model to get you started. Data models are defined in YAML files, so let's create one!
yaml
# yaml-language-server: $schema=https://assets.supersimple.io/supersimple_configuration_schema.json
models:
  test_model:
    name: Test model
    sql: "SELECT 'Hello' AS greeting"
    primary_key:
      - greeting
    properties:
      greeting:
        name: Greeting
        type: String
        description: Something similar to "Hi"
Now, all that's left to do is sync this to Supersimple.
For that, you'll need our CLI. Once that's set up, all you'll need to do is run:
sh
supersimple import my-models.yamlYou should see a message like this:
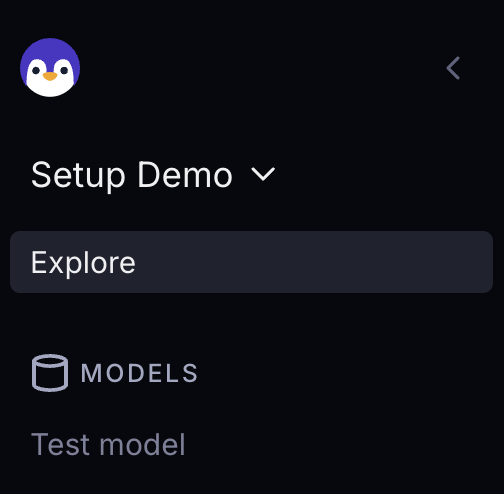
[SUCCESS] Import Successful!🎉 Once you do, open up Supersimple to confirm that your data model is there. You should see it in the sidebar:
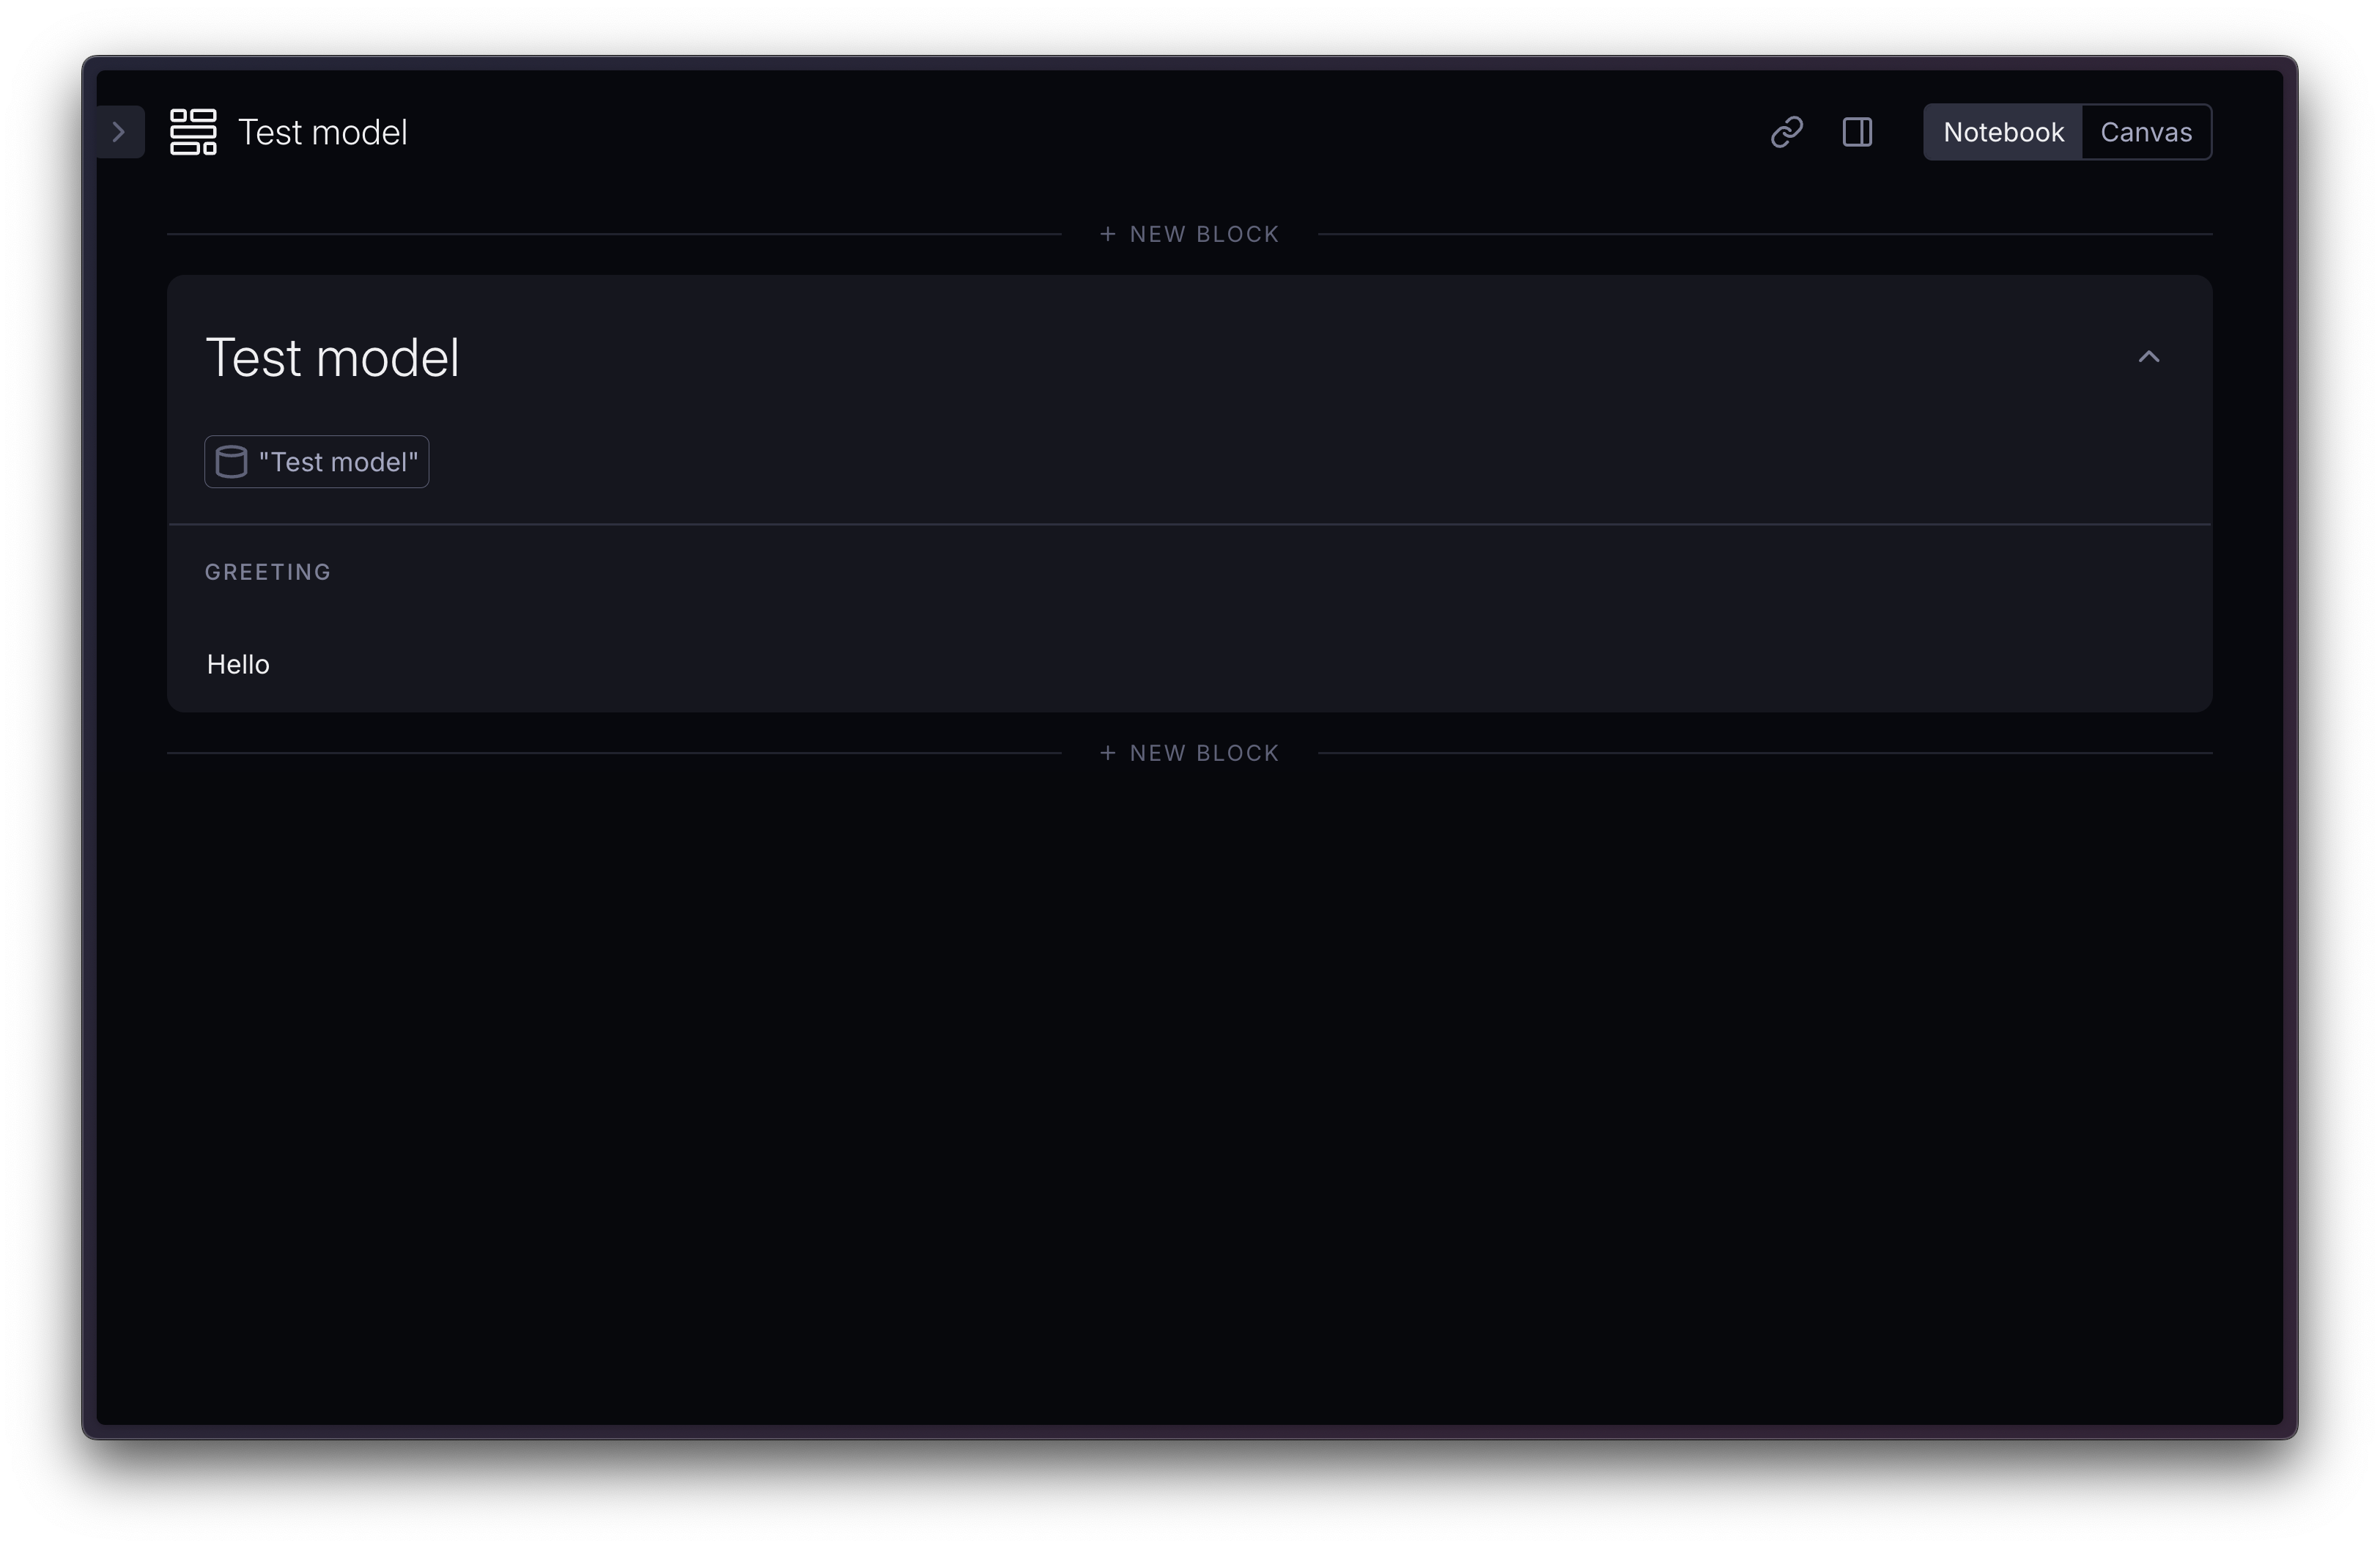
Click on it, and you should see the greeting, computed by your own database, based on your very own SQL query:
Next, you'll probably want to create data models that use your actual data. Switch out the SQL query to something a bit more useful and update the properties to match. After updating your models file, run the import command again and refresh Supersimple.
Once you're ready, check out our guide to managing data models to set up relationships between your models and much more.